With Disney MagicMobile now available on iOS devices, we wanted to give you a step-by-step guide on how to set up the new feature within the MyDisneyExperience app.
Getting Started With Disney MagicMobile
As we just mentioned, MagicMobile is a feature within MyDisneyExperience, so you’ll need to open up the MyDisneyExperience app on your device (or download it for free if you don’t already have it). You will also need to link up all of your accounts within the app. Once you have done that, click on the three horizontal lines to bring up the context menu, and click on “Disney MagicMobile Pass” as shown in the screenshot below.
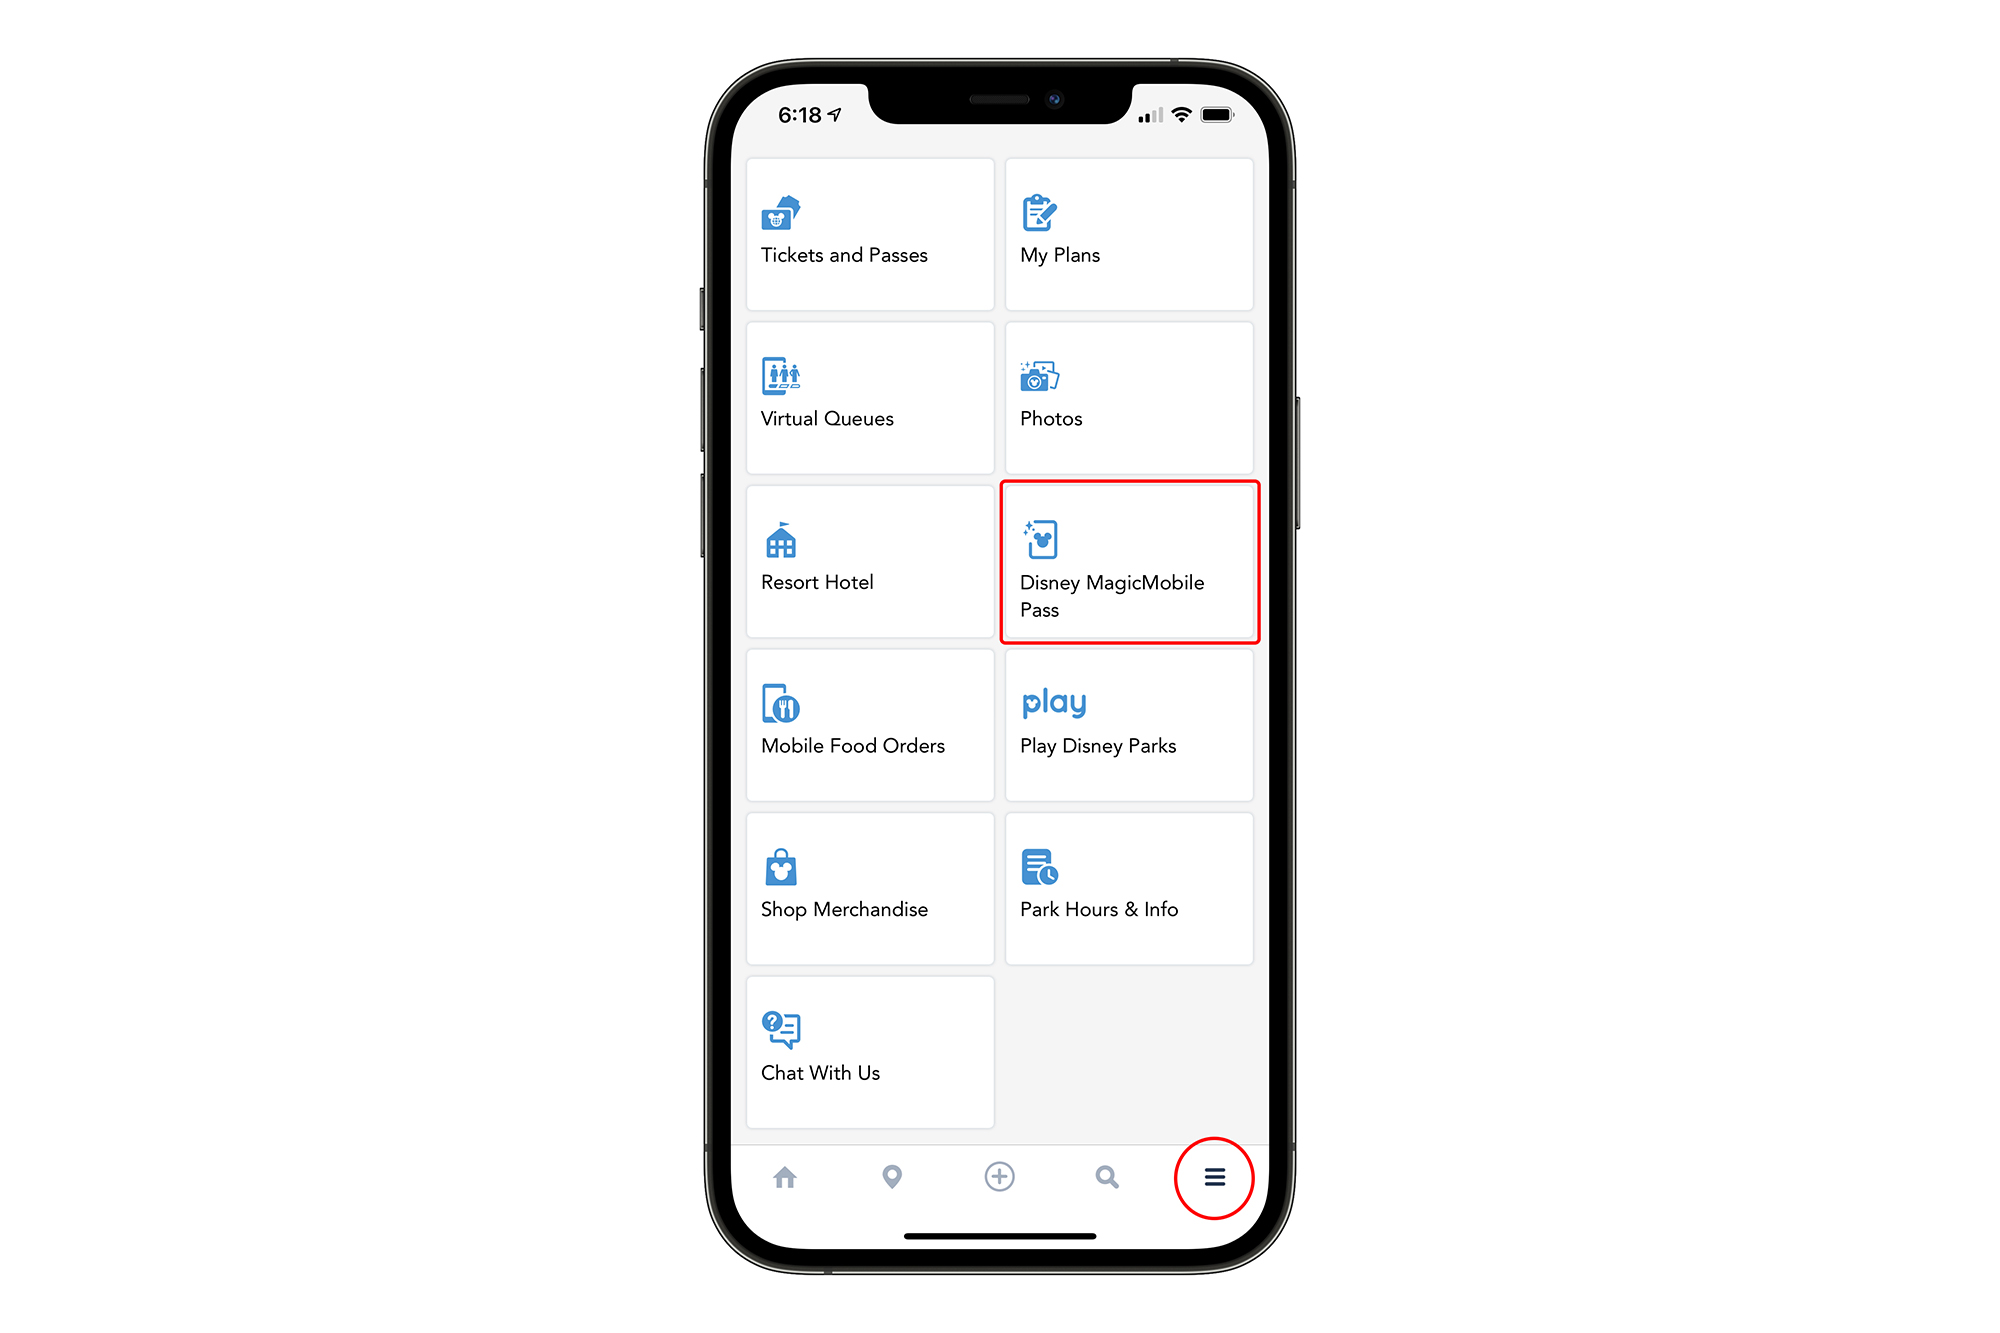
Disney MagicMobile: Account Validation
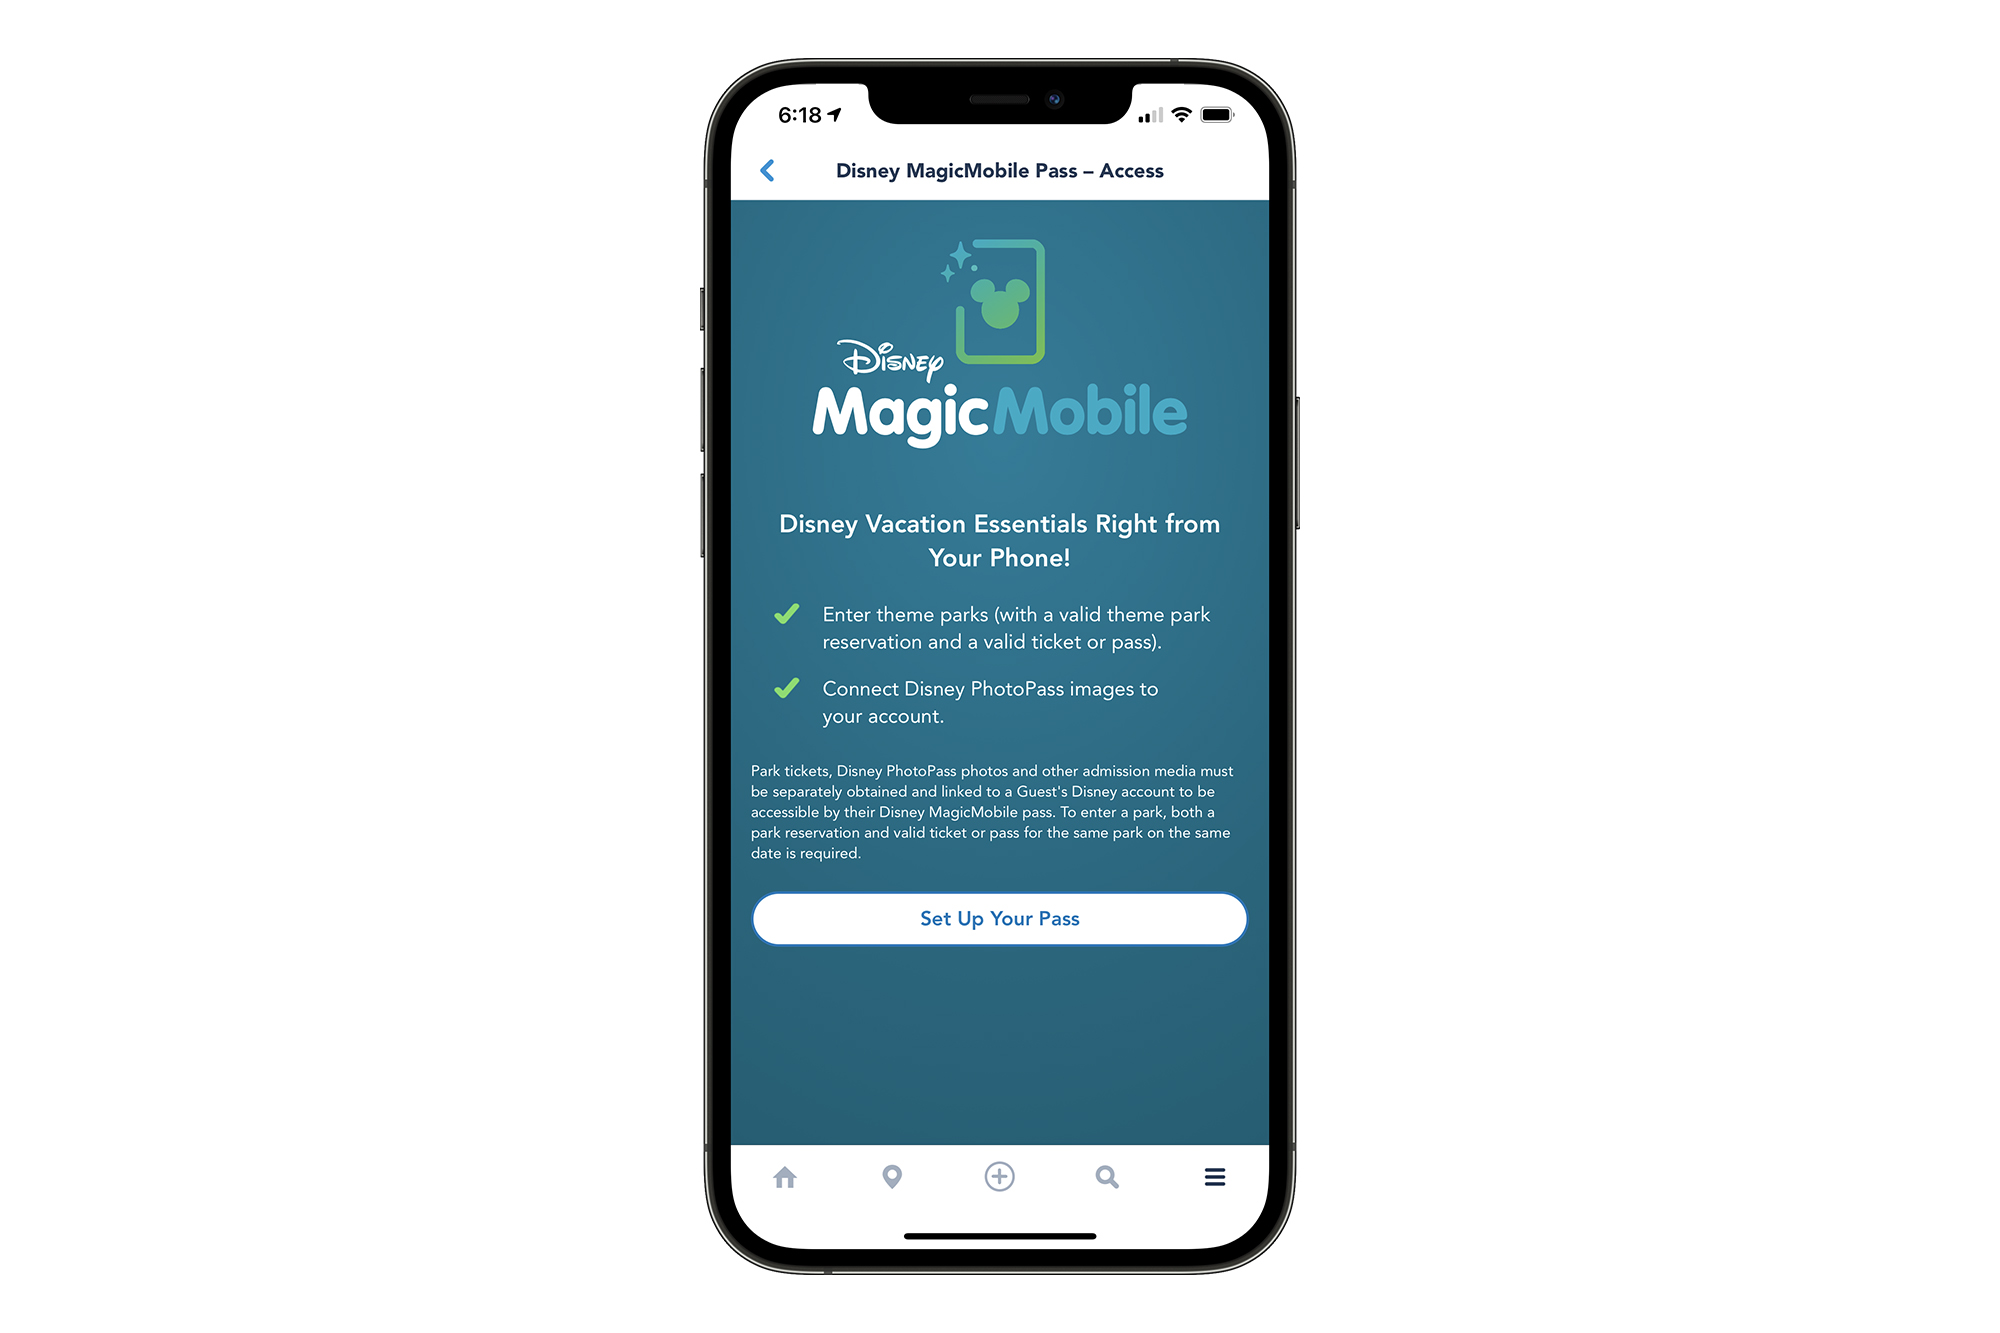
After a quick, automatic validation, you should see this screen showing off some of the features within Disney MagicMobile. Click “Set Up Your Pass”.
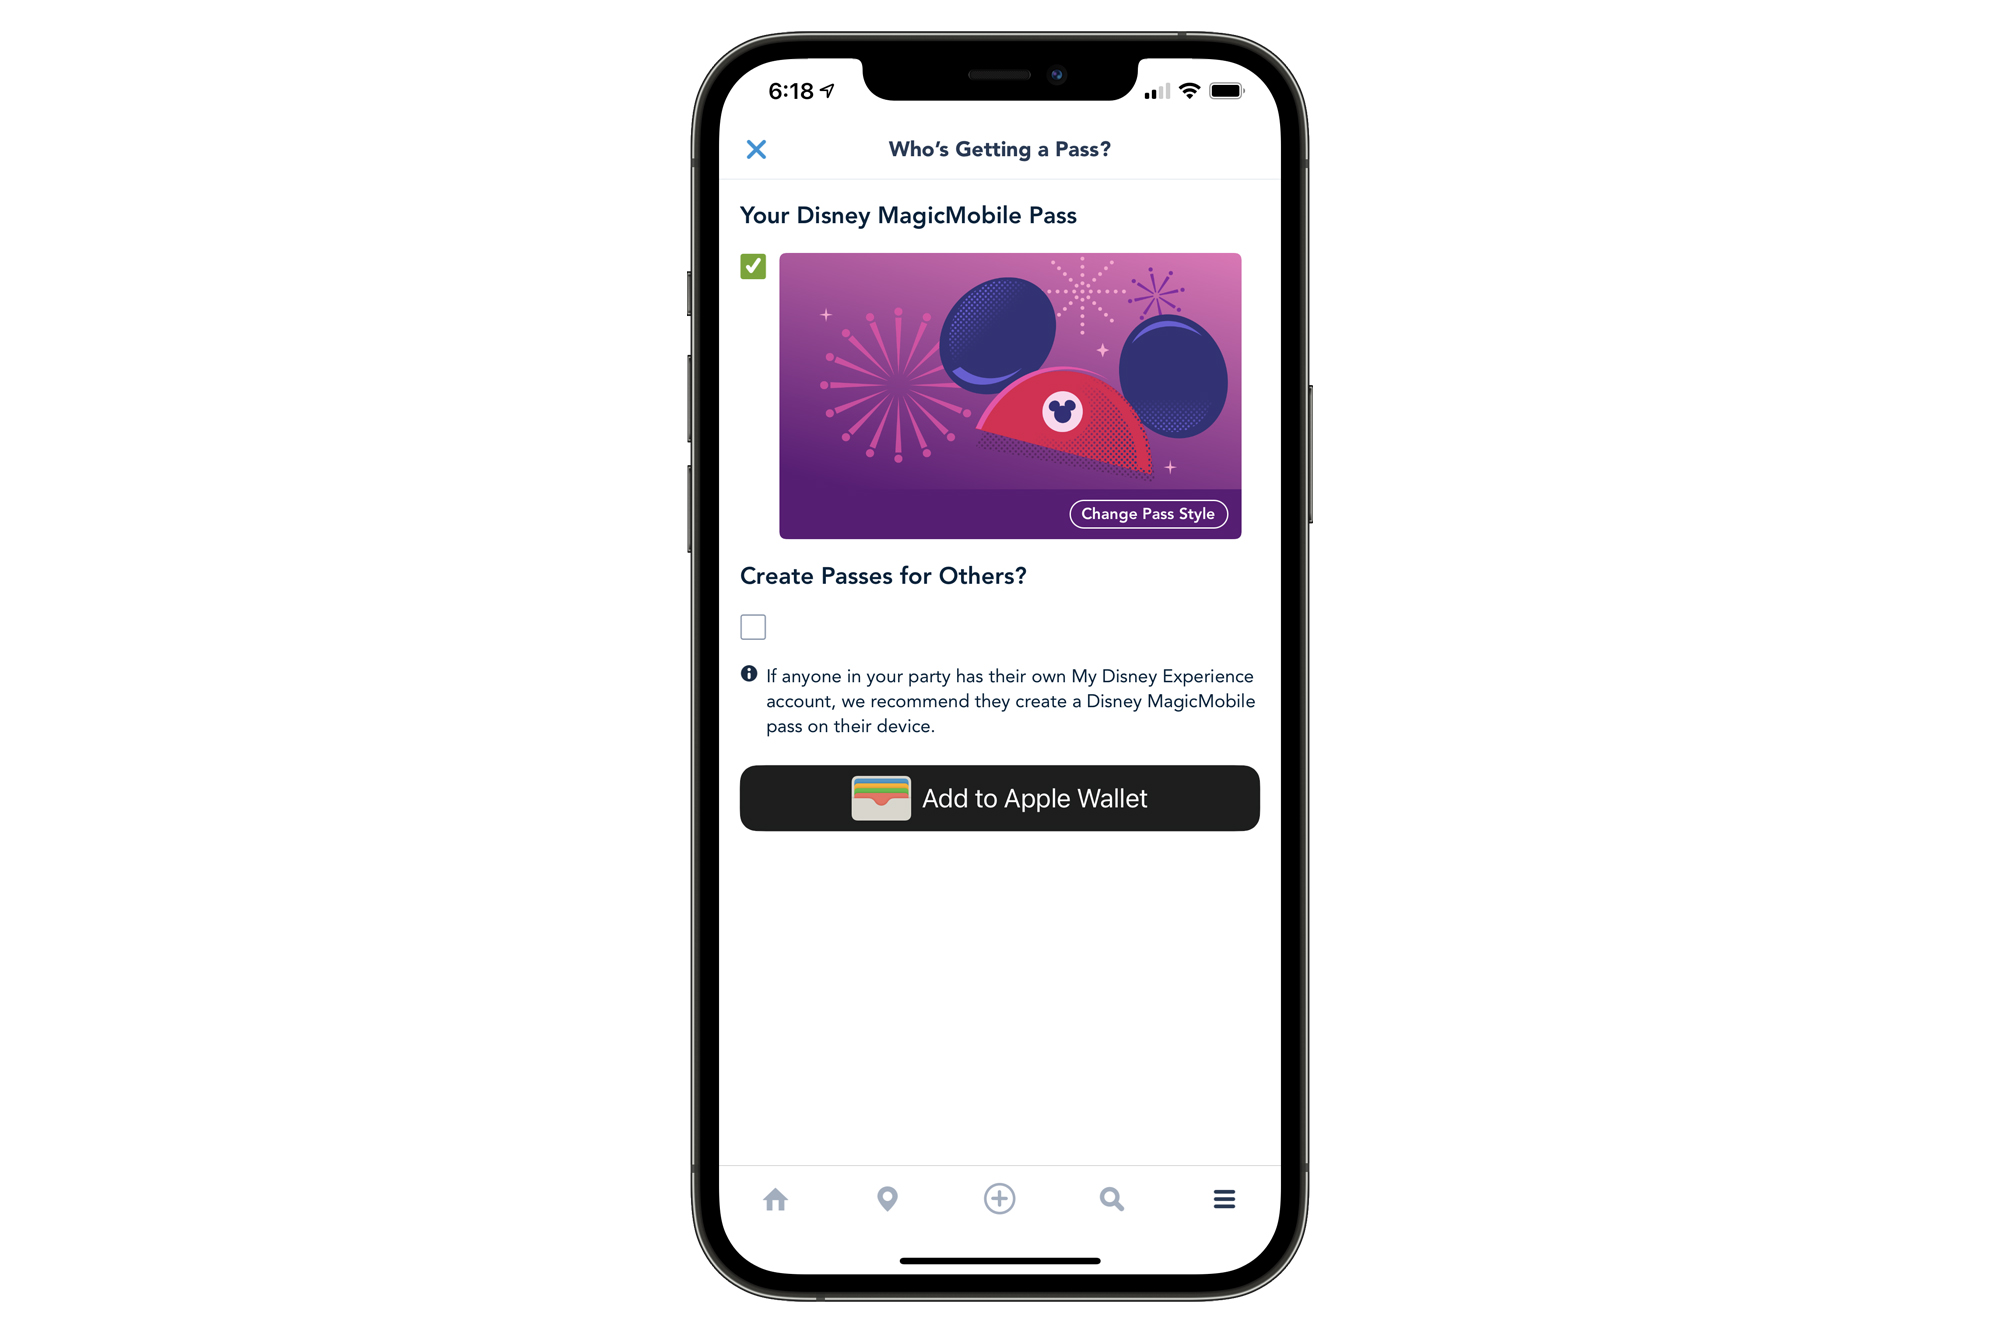
Disney MagicMobile: Create Digital Pass
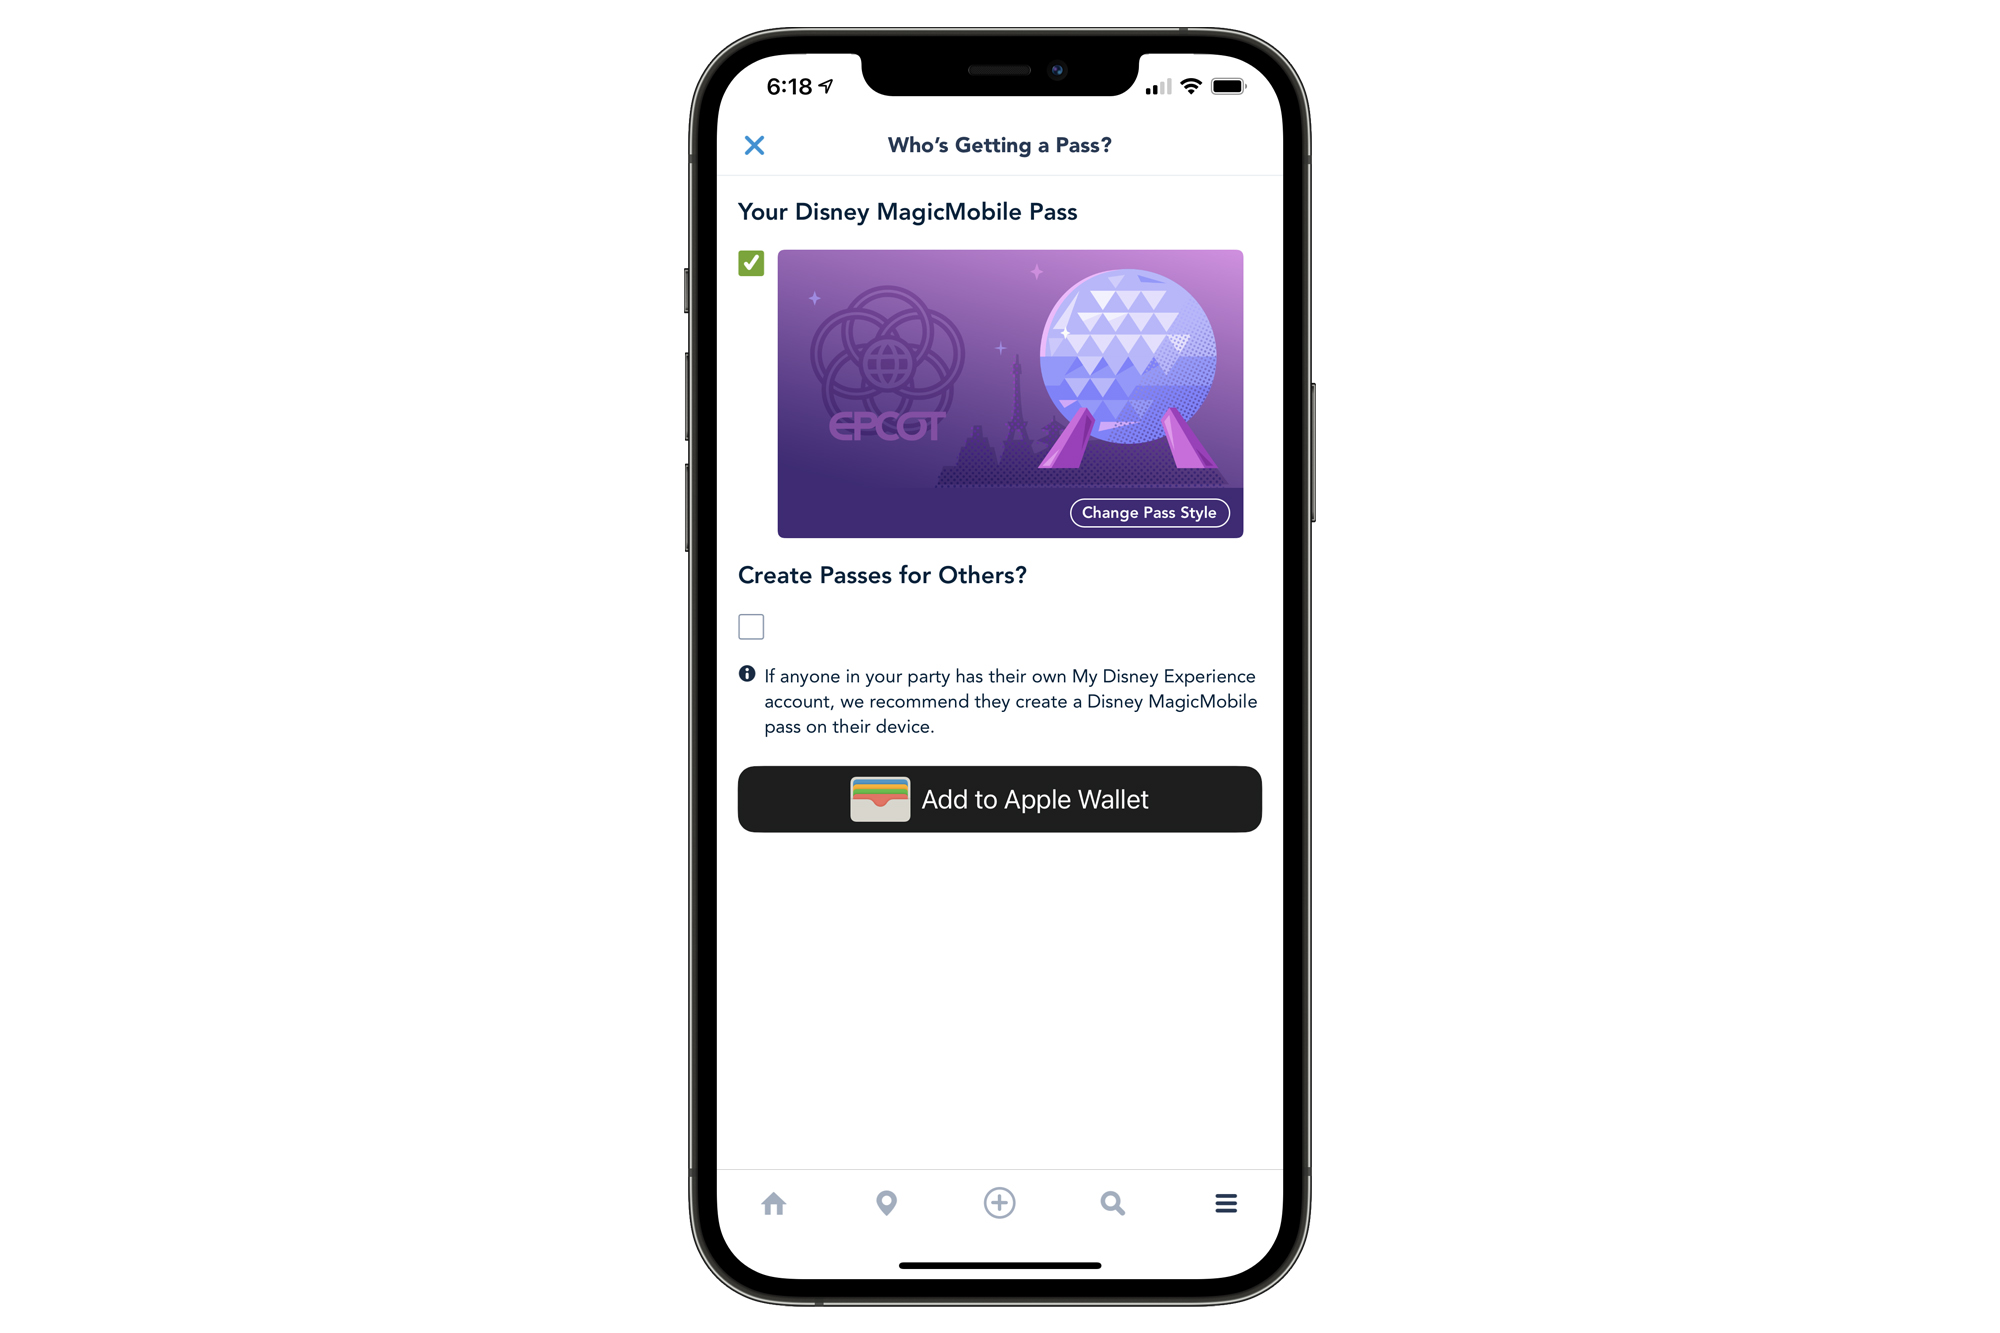
Next, you’ll select the passes that you’d like to create a Disney MagicMobile digital pass for. Your own account will be the default, and automatically selected. You can also create a Disney MagicMobile digital pass for accounts that you manage. Disney recommends that everyone in the party who has their own MyDisneyExperience account creates their own digital passes.
Disney MagicMobile: Select Pass Style
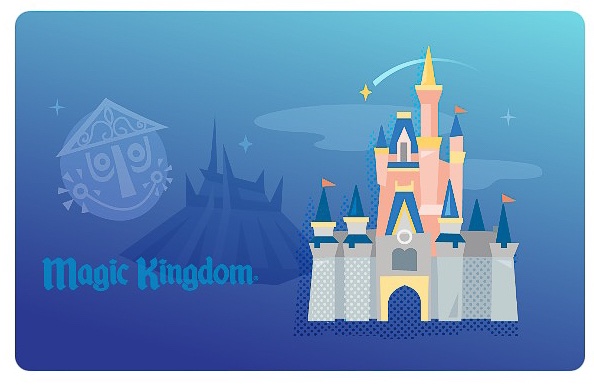
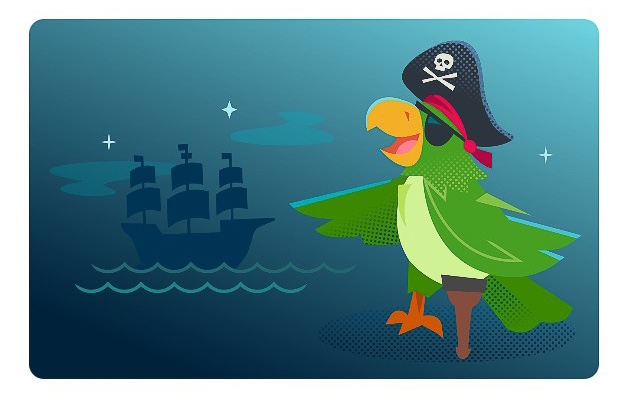
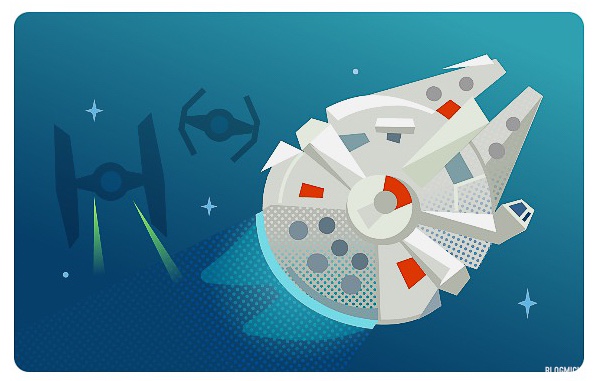
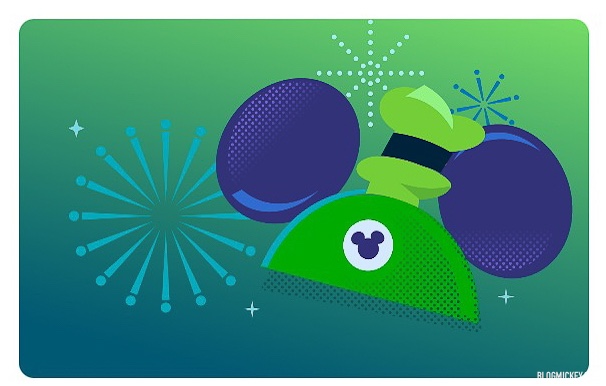
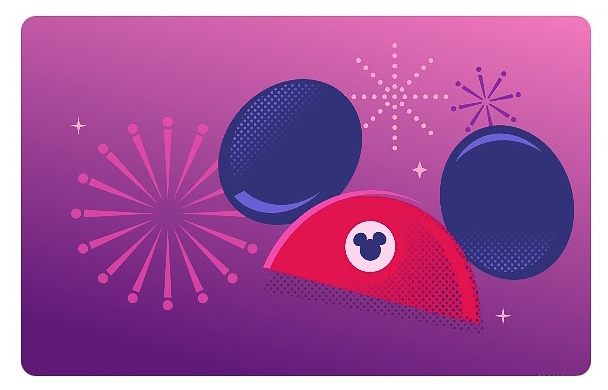
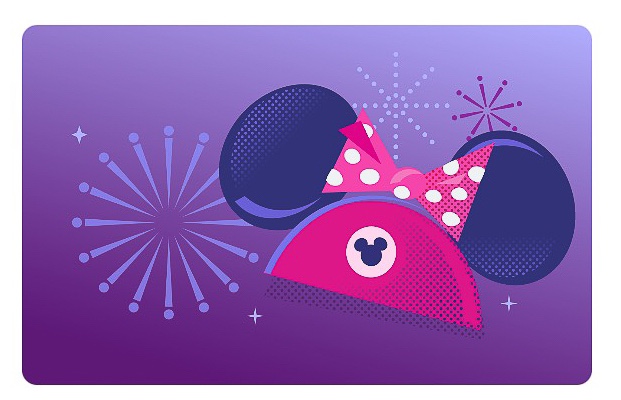
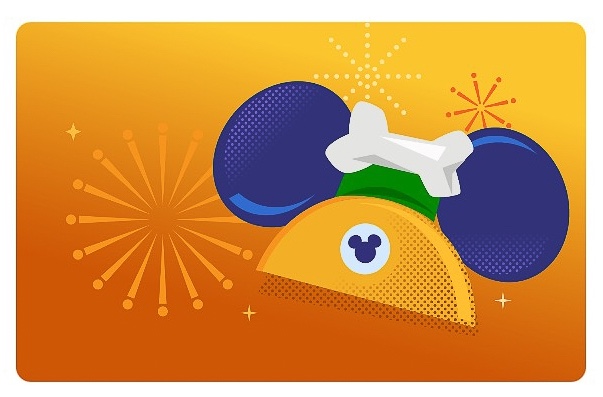
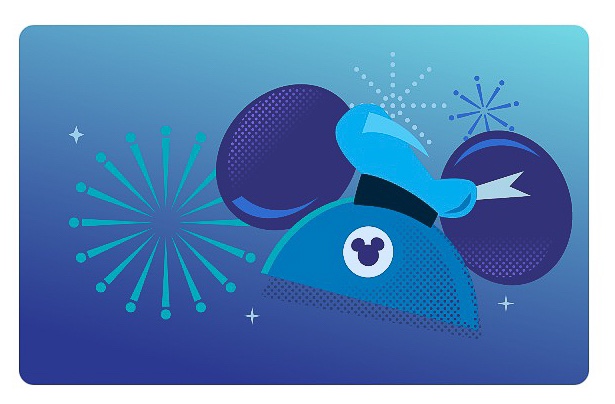
There are a variety of digital pass designs that you can pick from. You can either select a style before adding the pass to your Apple Wallet, or after. To change it now, simply tap on the “Change Pass Style” button on the lower right of your card. A menu will pop up with all of the design choices. Simply tap on whatever style you want (keeping in mind that you can slide right for more choices), and tap on the “Done” button at the bottom.
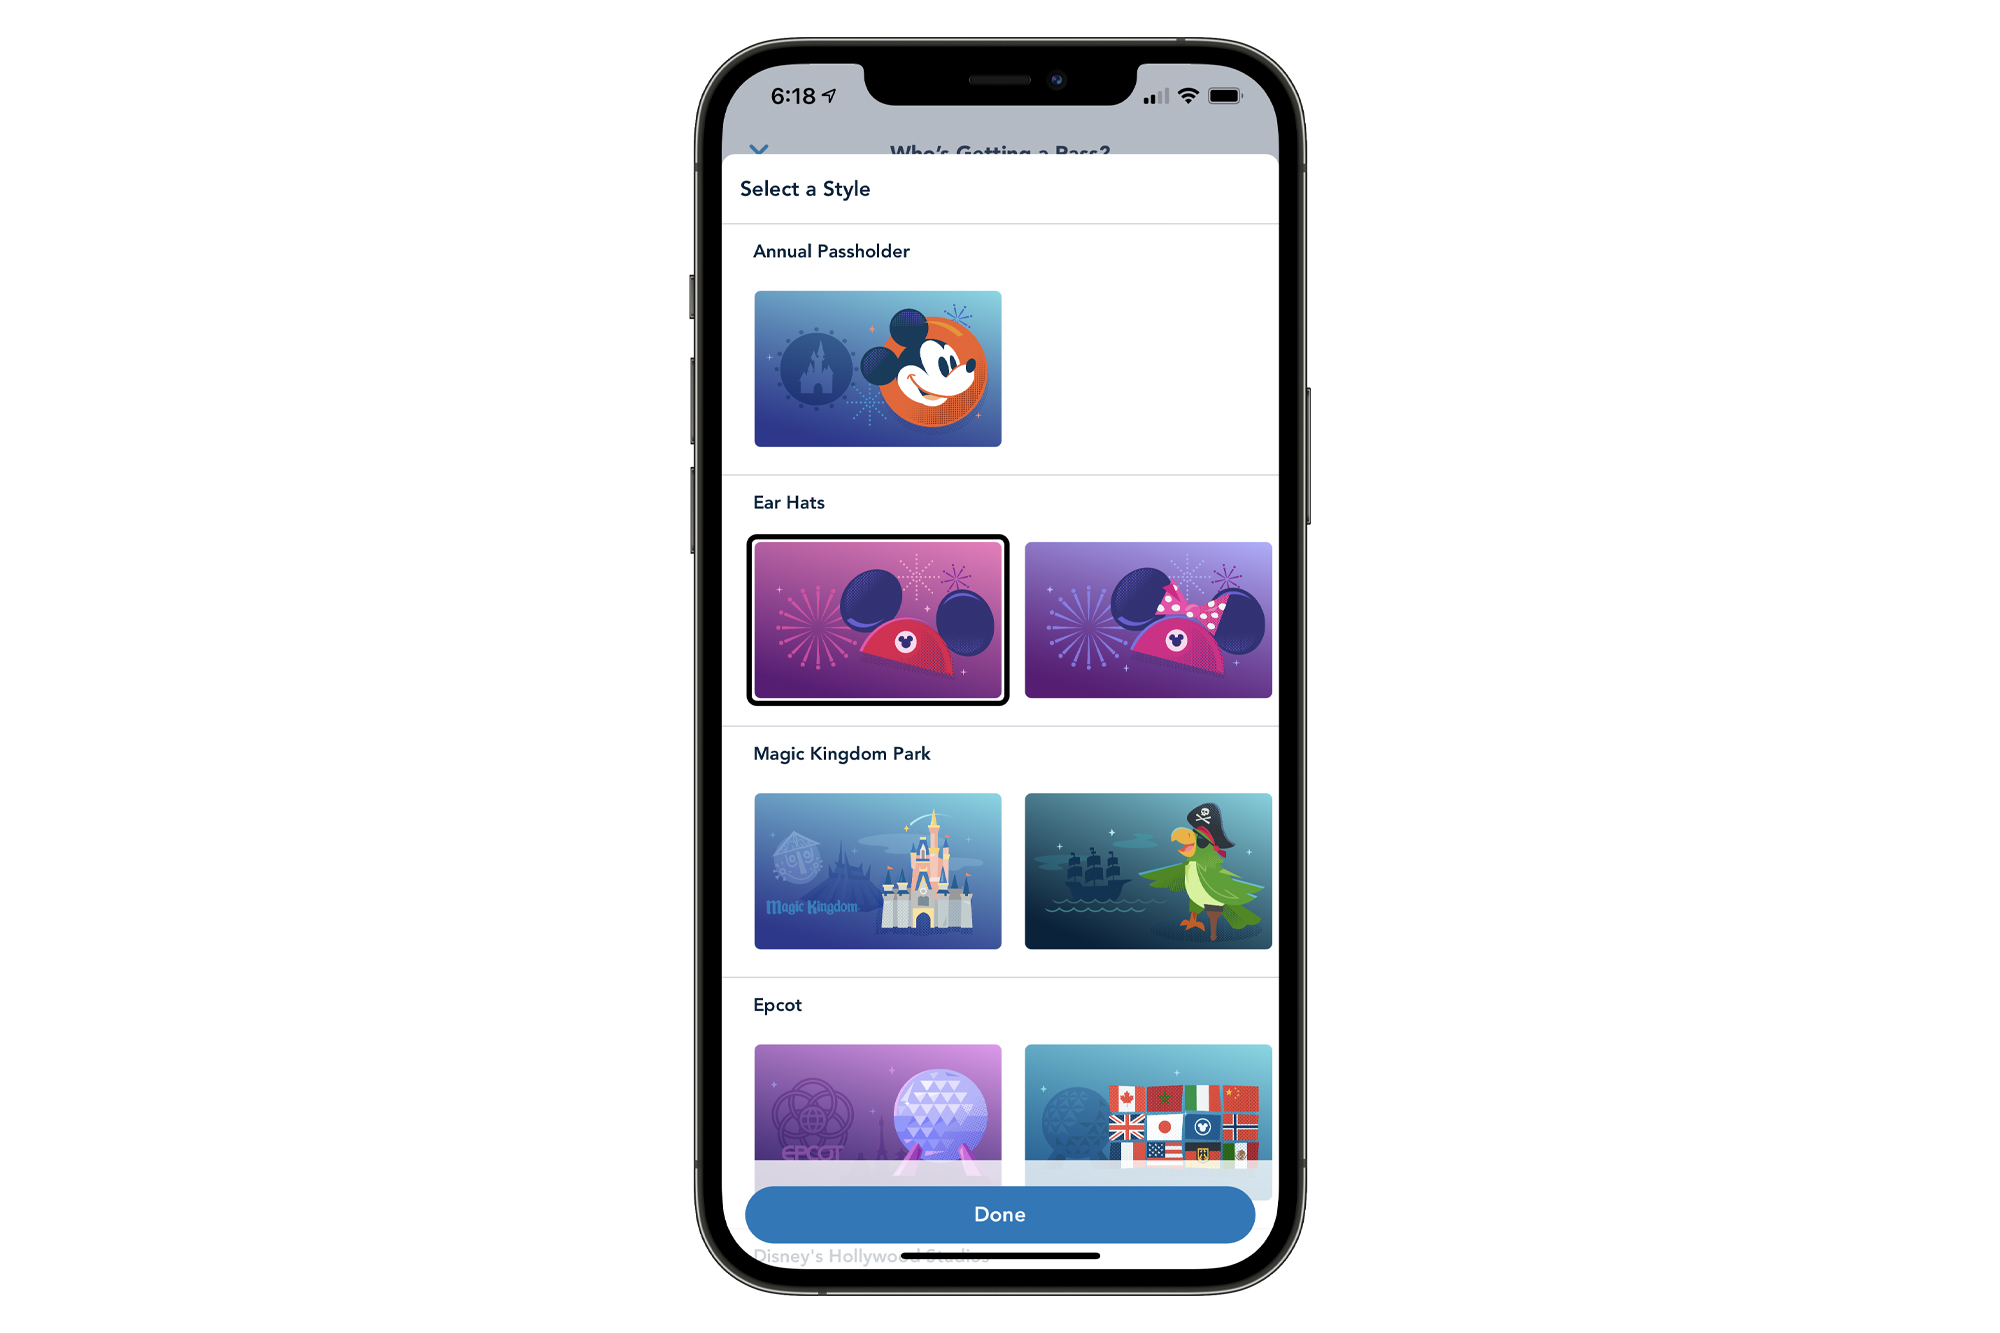
For a full list of Disney MagicMobile digital pass styles, check out our photos below.









Disney MagicMobile: Add to Apple Wallet
As of publish time, Disney MagicMobile is only available on iOS devices, but it will roll out to Android devices in the future. While our screenshot says “Add to Apple Wallet”, it would allow you to add it to the Android equivalent when it is available.
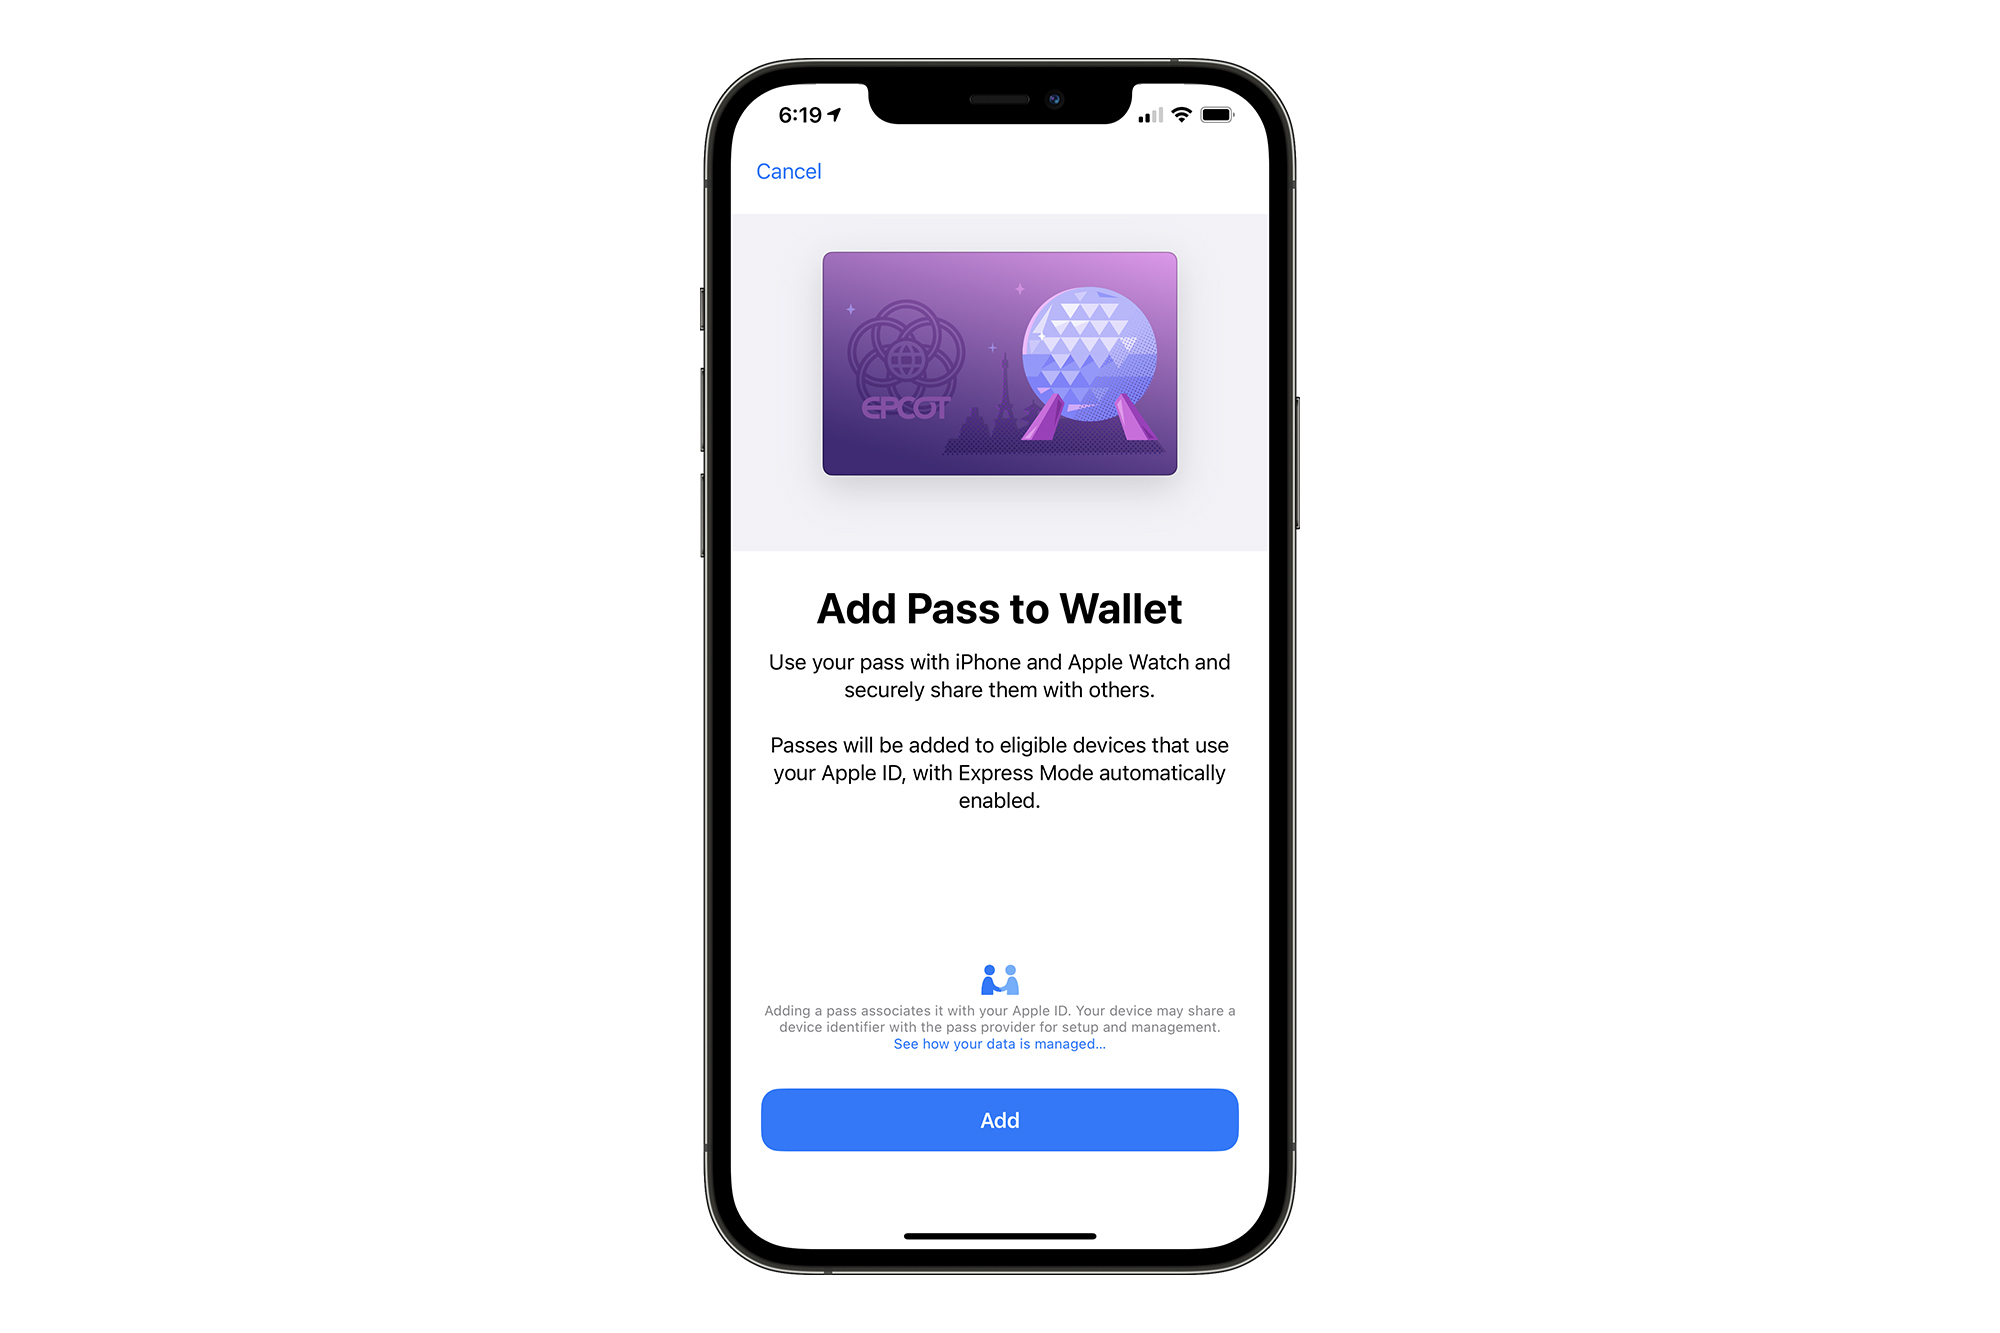
After clicking on “Add to Apple Wallet”, the standard user experience flow of adding a digital pass or credit card to Apple Wallet will take over. Click “Add”.
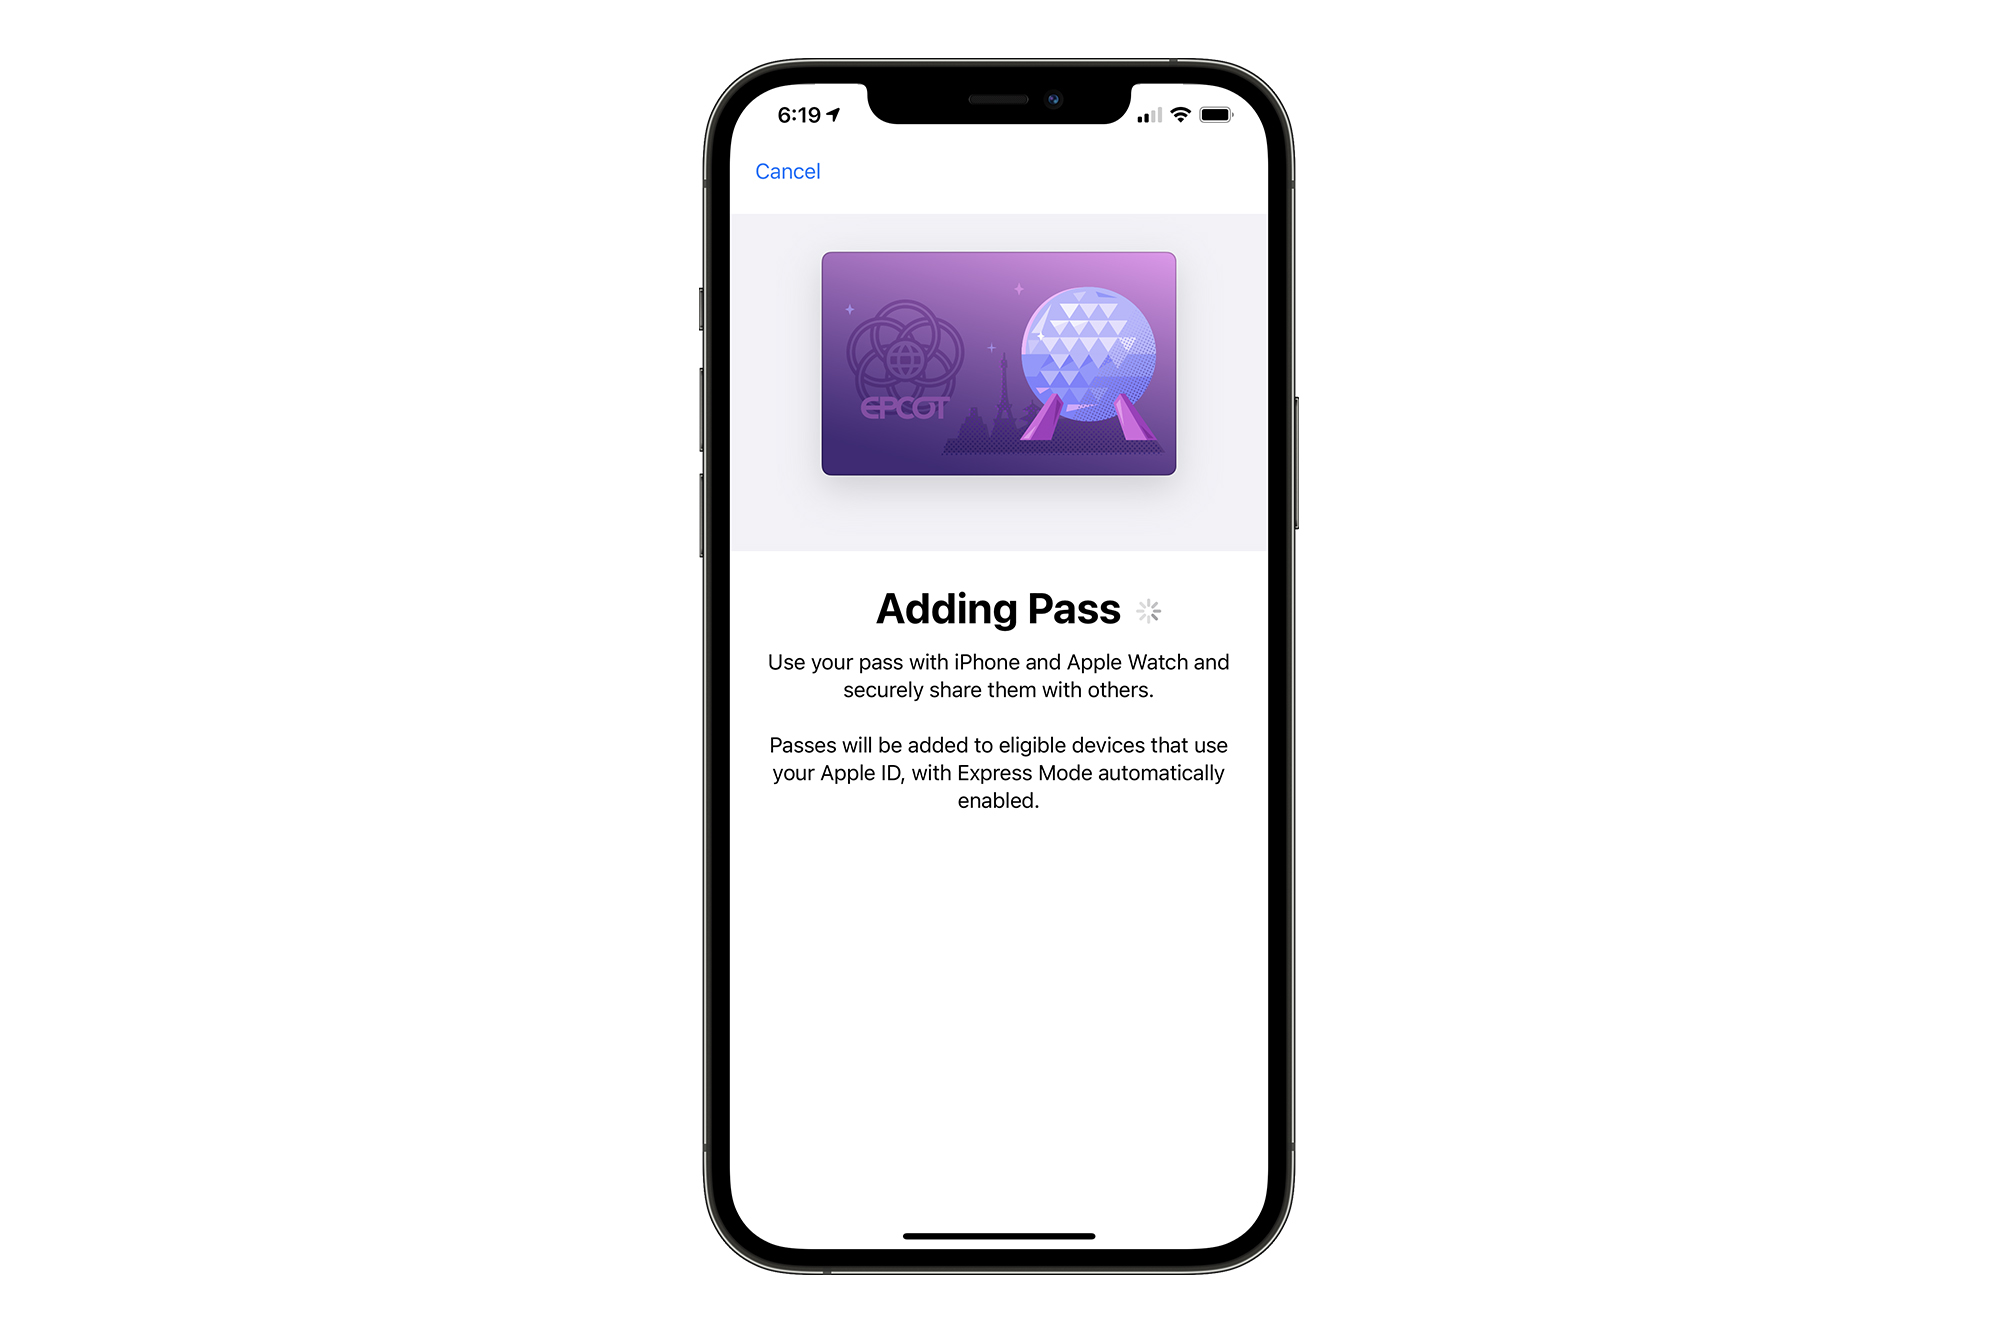
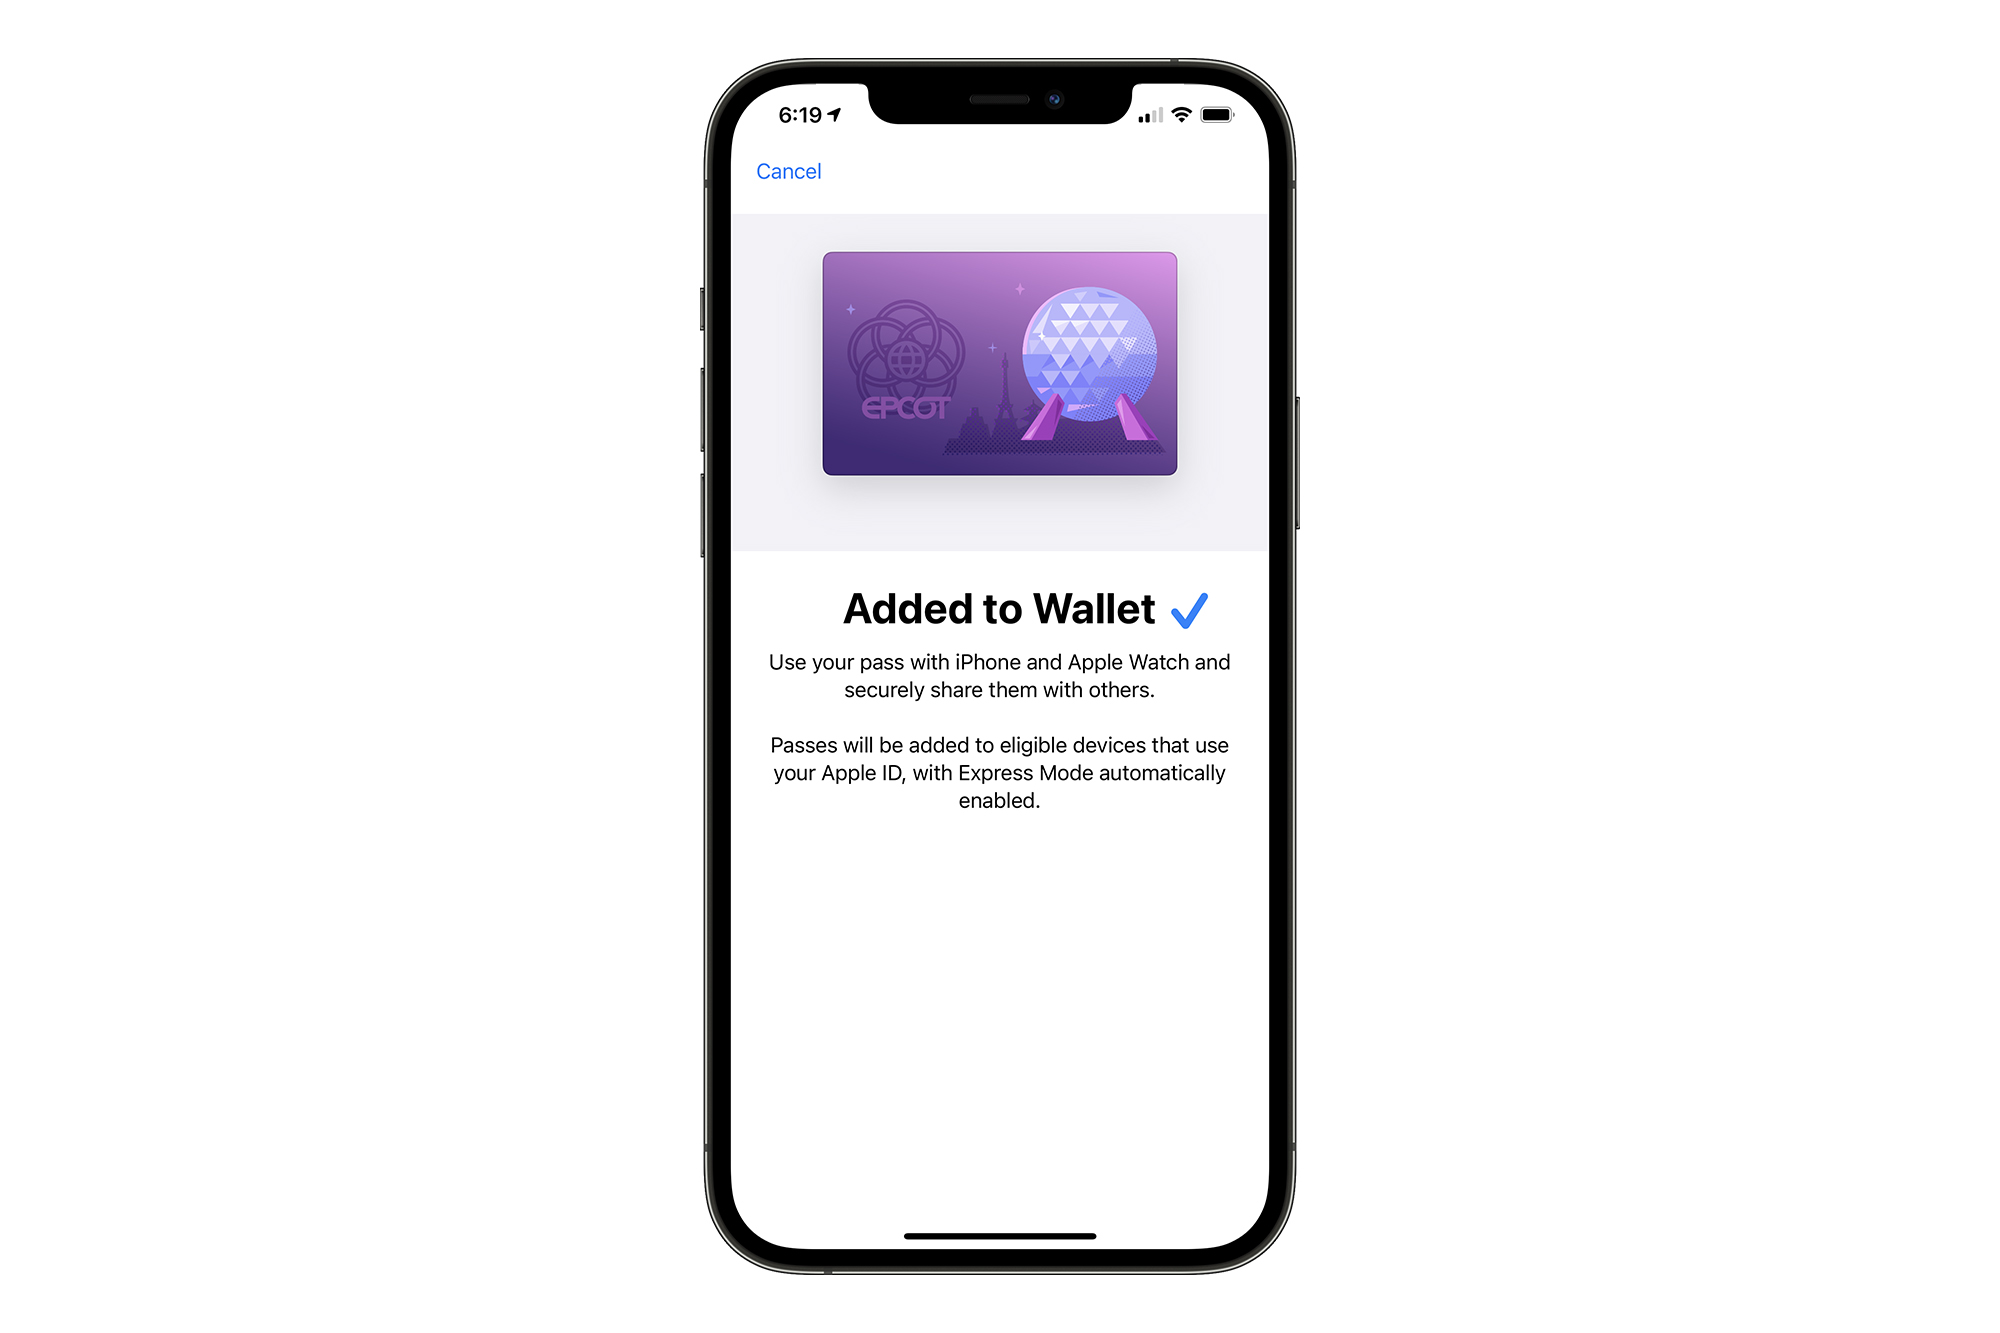
That’s it! You’ve now added your digital pass to the Disney MagicMobile portion of the MyDisneyExpereince app!
Disney MagicMobile: Express Pass
You will automatically be opted in to “Express Pass”. If you want a seamless, easy experience at the park entry locations, we recommend keeping Express Pass on. You can turn Express Pass off via the Apple Wallet app settings, but not from within the MyDisneyExperience app.
Express Pass essentially allows you to use your smart phone or Apple Watch by simply tapping it at a park entry location without the need to unlock your phone or open the Apple Wallet or MyDisneyExperience app. This is the true MagicBand style of entering a theme park, but keep in mind that Express Pass is only available for your primary account. If you need to scan other guests into the park, you’ll need to open the app and swipe through their accounts at a tappoint. The next screen describes that process.
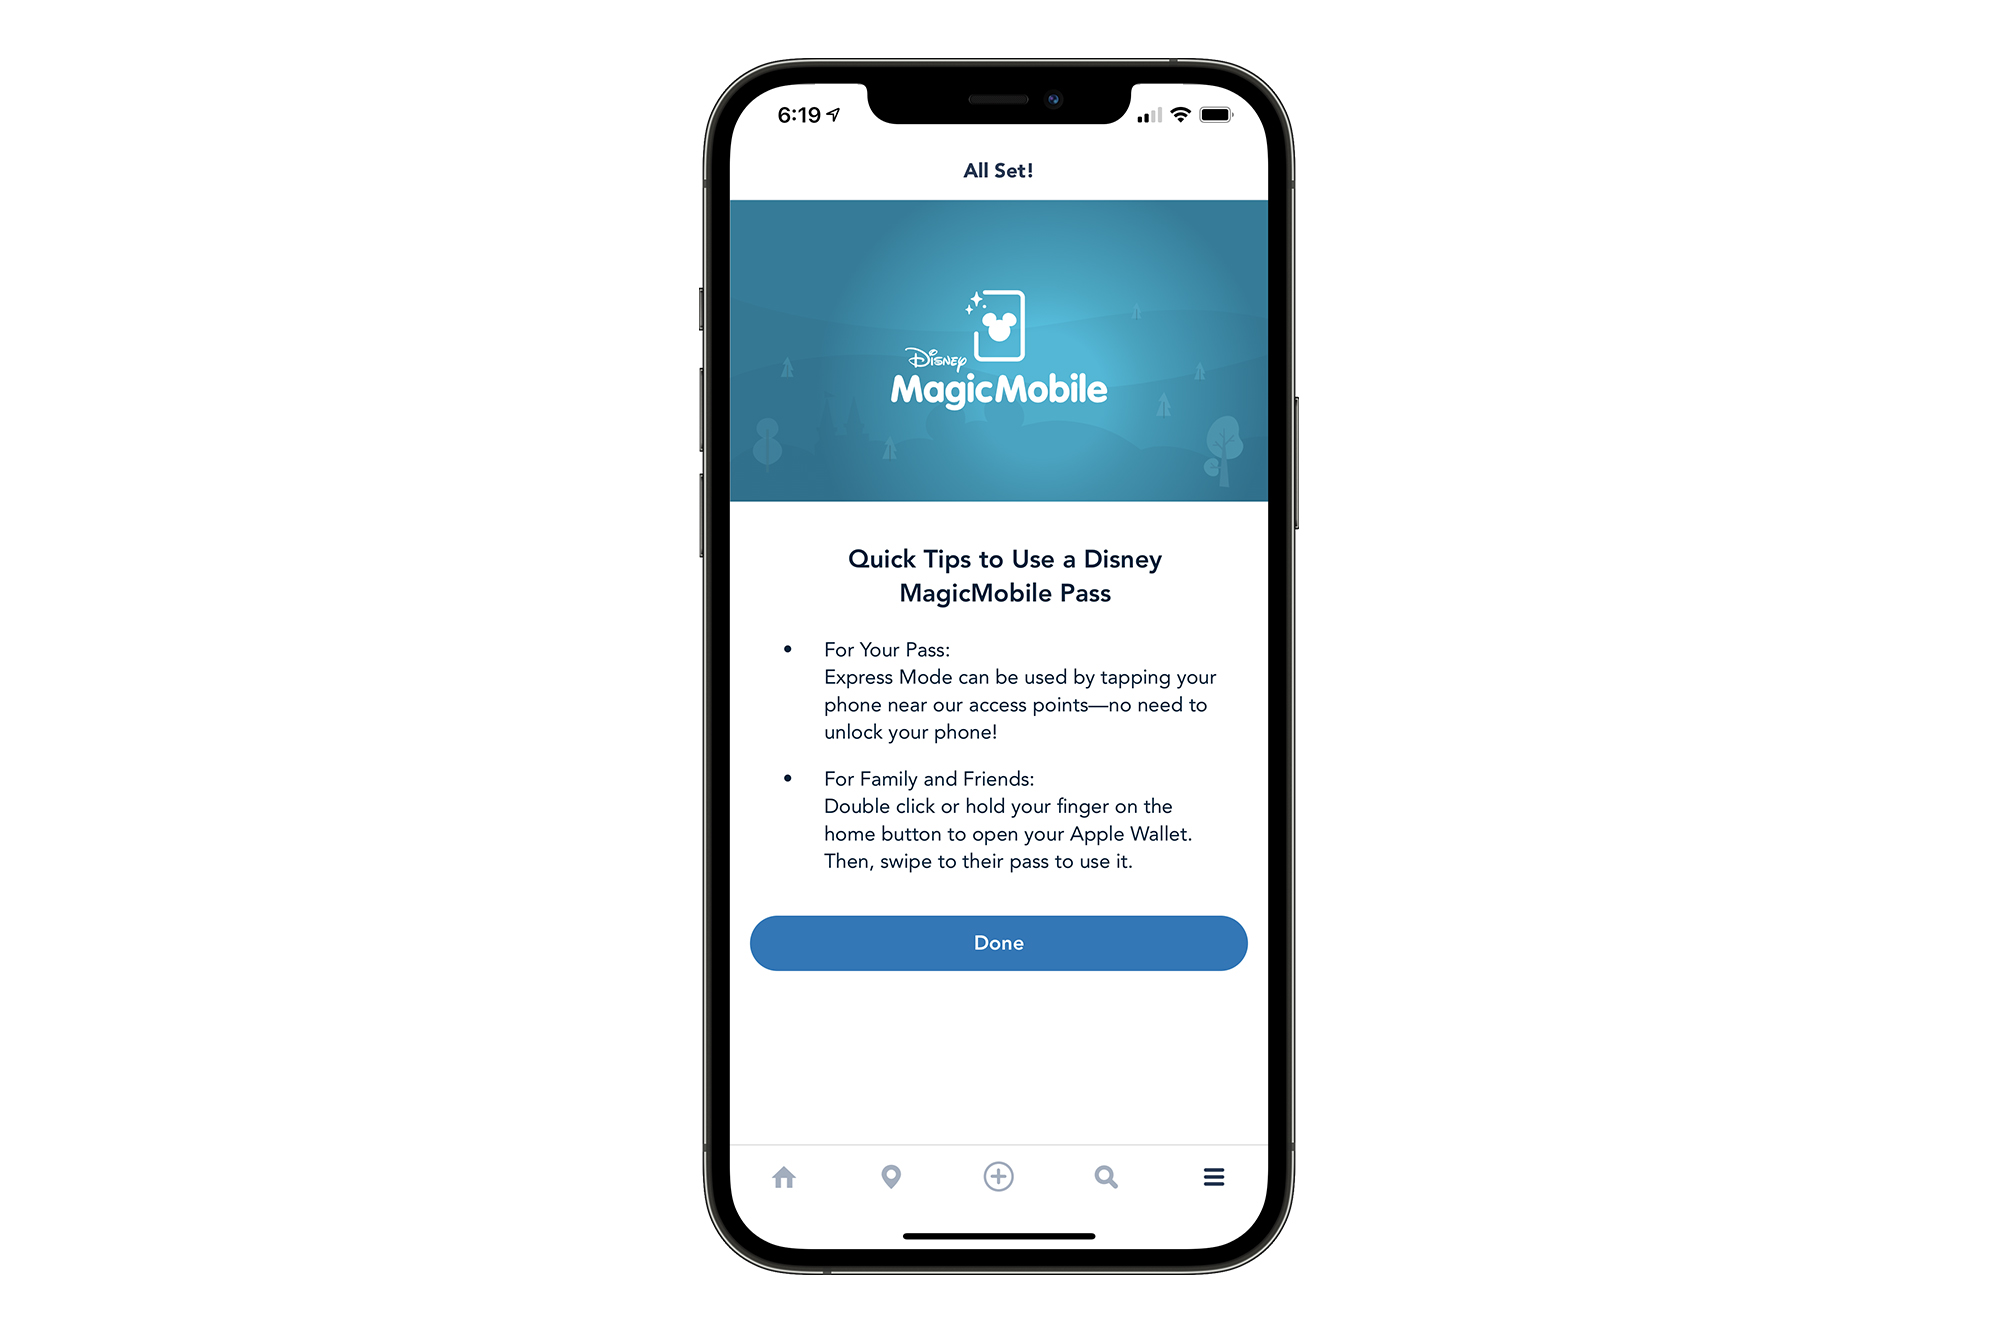
Disney MagicMobile: Accessing Digital Pass
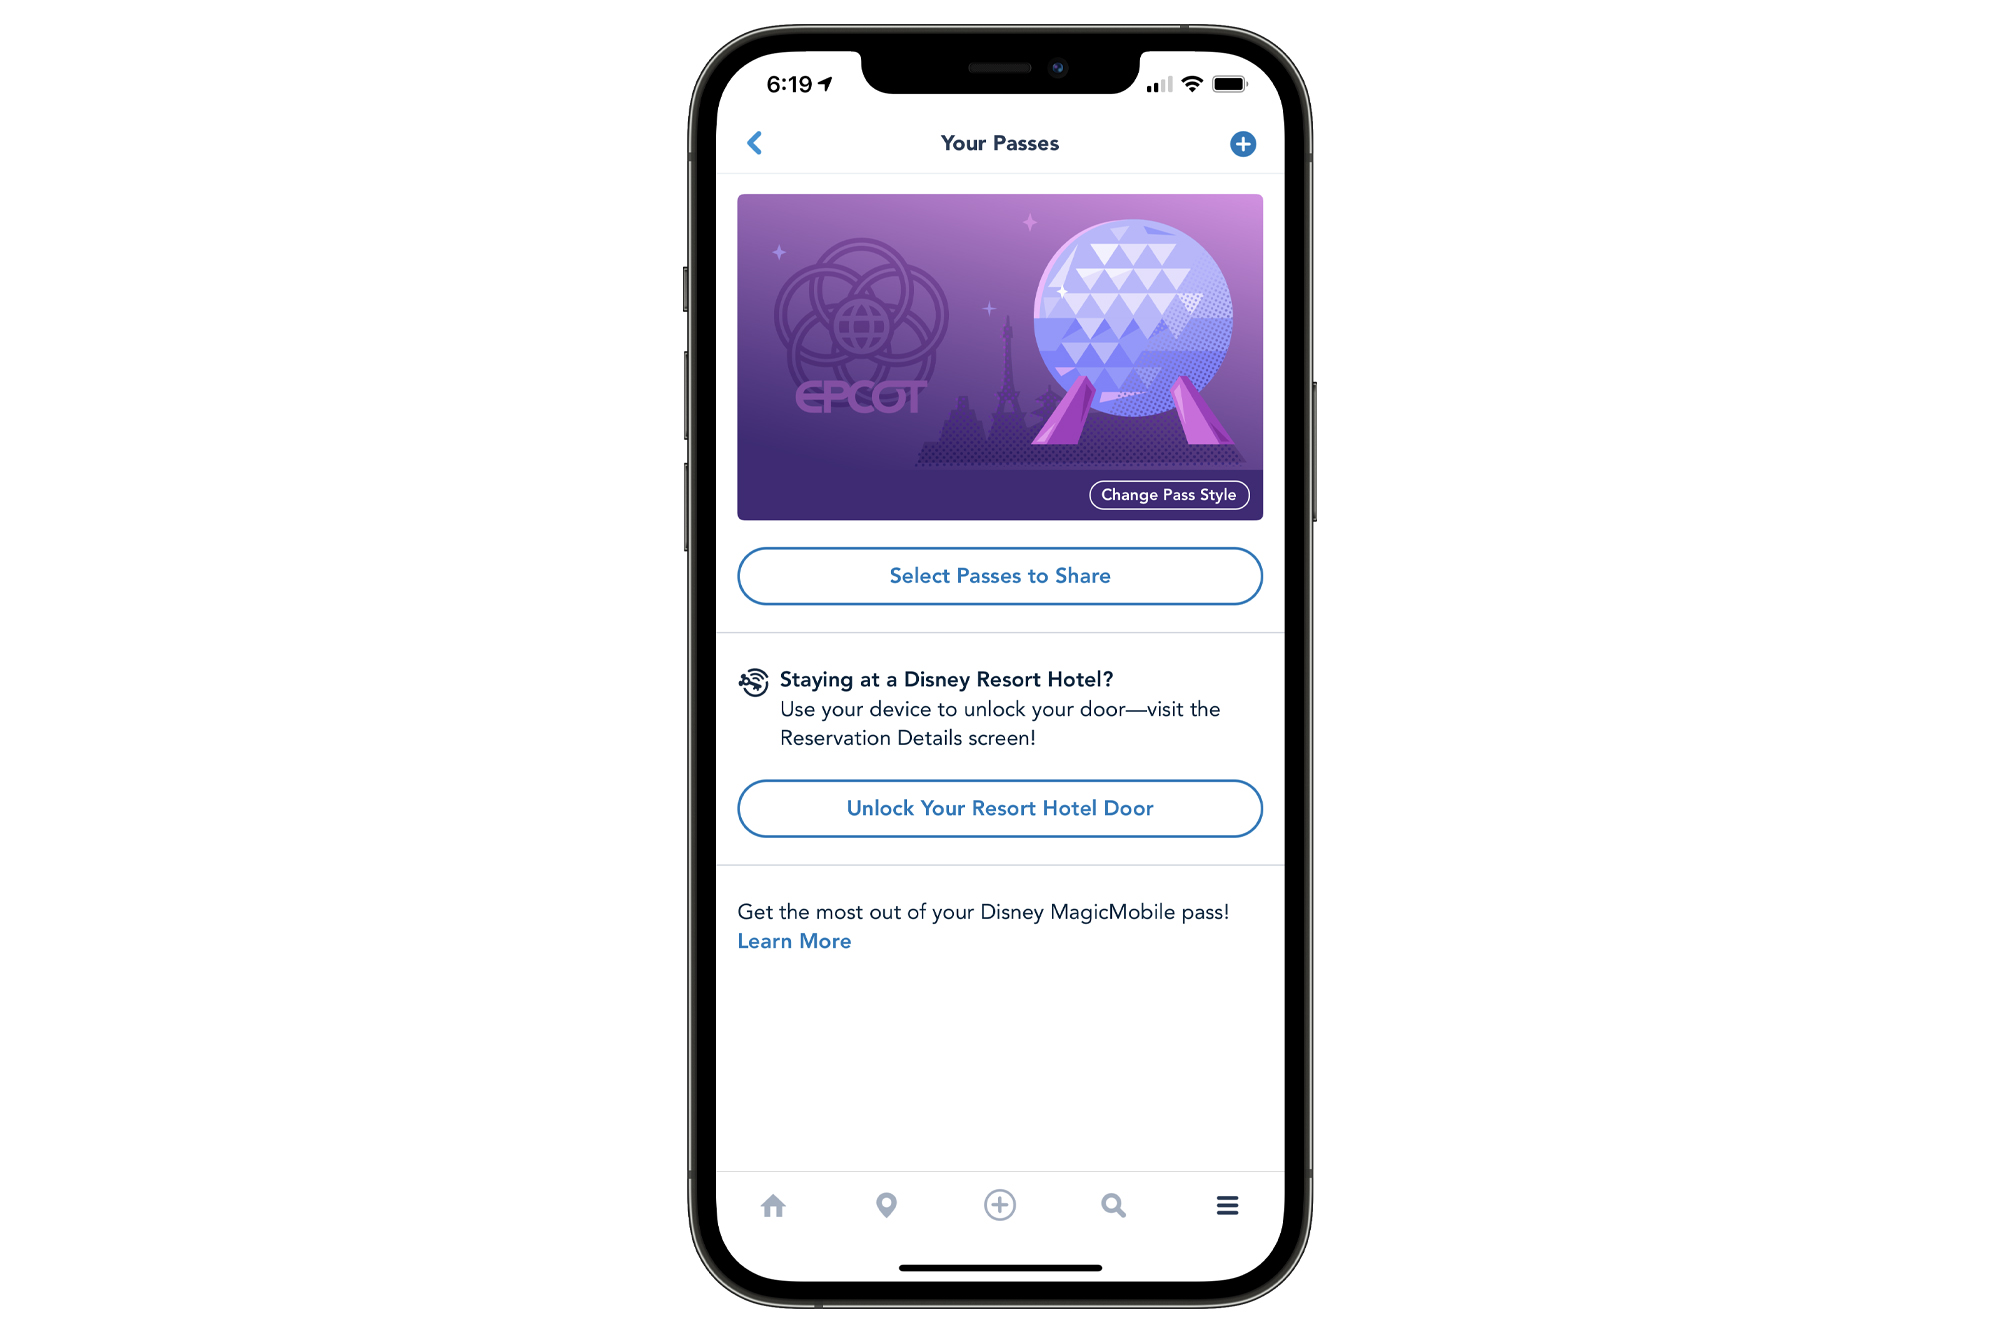
If you ever need to access your digital pass, you can access it anytime by once again clicking on the three lines to pull up the context menu and clicking on “Disney MagicMobile Pass”.

After you complete the initial setup, you’ll see your digital pass sitting there for you to manage. You can always add another pass by clicking on the “+” button on the upper right of the screen. If you would ever wish to delete a pass, you must do so through the standard menu options within the Apple Wallet app.
As always, keep checking back with us here at BlogMickey.com as we continue to bring you the latest news, photos, and info from around the Disney Parks!

